
In today's digital age, streaming has become an integral part of our online experience. Whether you're looking to share your private event, host a talk show, or broadcast a concert, setting up a stream can open up a world of possibilities.
But how do you get started with streaming? What equipment do you need? And what are the best practices for creating a high-quality stream? In this comprehensive guide, we'll walk you through everything you need to know about setting up your stream, from the simplest smartphone setup to more advanced multi-camera configurations. We'll also explore why EventLive stands out as the best destination for live streaming, especially for those just starting their streaming journey.
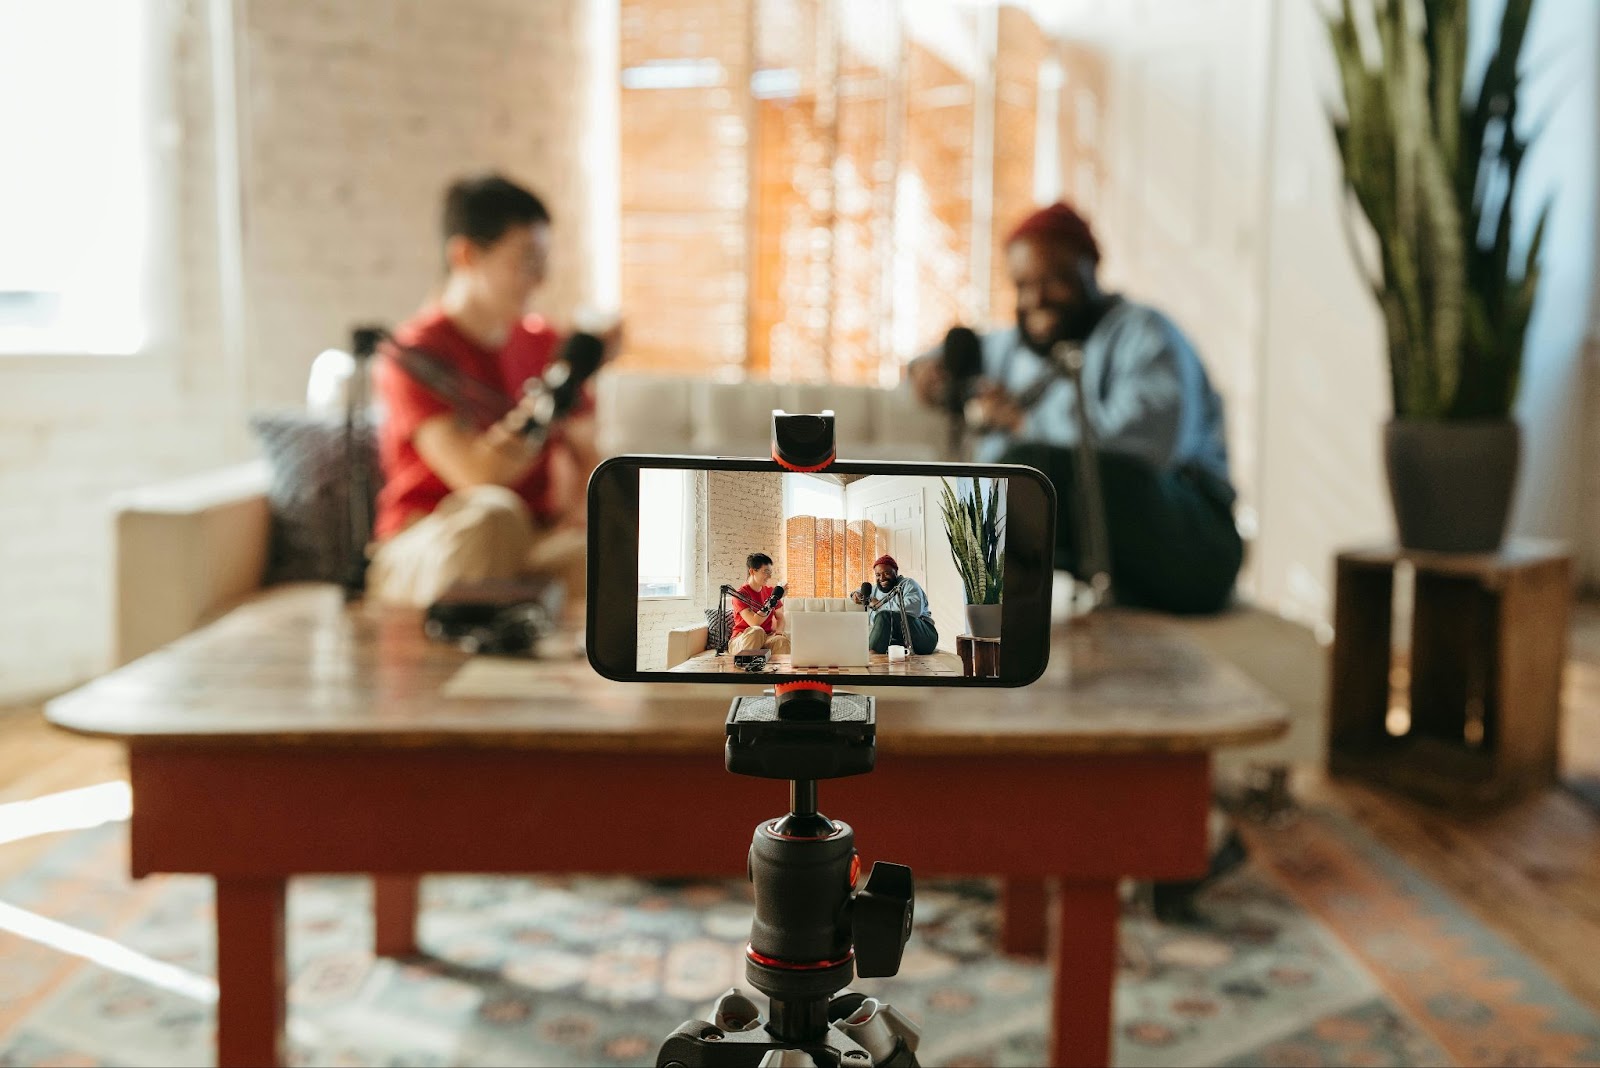
Streaming with a Smartphone: The Simplest Setup
When it comes to streaming, your journey can begin right in the palm of your hand. Smartphones have come a long way, and modern devices are more than capable of delivering high-quality streams. This setup is perfect for beginners or those who want to stream on-the-go. Let's explore how you can leverage your smartphone for streaming:
Why Choose a Smartphone for Streaming?
1. Convenience: Your smartphone is always with you, making it easy to start streaming at a moment's notice.
2. All-in-One Solution: Modern smartphones come equipped with good quality cameras, microphones, and internet connectivity.
3. Cost-Effective: If you already own a smartphone, you can start streaming without any additional investment.
4. User-Friendly: Many streaming apps are designed with mobile users in mind, offering intuitive interfaces.
Setting Up Your Smartphone for Streaming
1. Choose Your Platform: Decide where you want to stream. Popular options include YouTube Live, Facebook Live, and of course, EventLive.
2. Download the App: Most platforms have dedicated apps for live streaming. Download and install the app of your choice.
3. Check Your Internet Connection: Ensure you have a stable internet connection. We recommend at least 3Mbps upload speed for a good live stream experience.
4. Prepare your equipment: Consider using a smartphone tripod with phone mount for stability.
5. Test Your Setup: Before going live, do a test run to check your video and audio quality.
EventLive: The Best App for Smartphone Streaming
While there are many options available, EventLive stands out as the best destination for live streaming, especially when using a smartphone. Here's why:
- User-Friendly Interface: EventLive's app is designed with simplicity in mind, making it easy for anyone to start streaming.
- High-Quality Streaming: The app optimizes your stream for the best possible quality based on your internet connection.
- Privacy Controls: Choose who can view your stream, perfect for private events or exclusive content.
- Cloud Storage: Your streams are automatically saved and can be accessed later.
Tips for Successful Smartphone Streaming
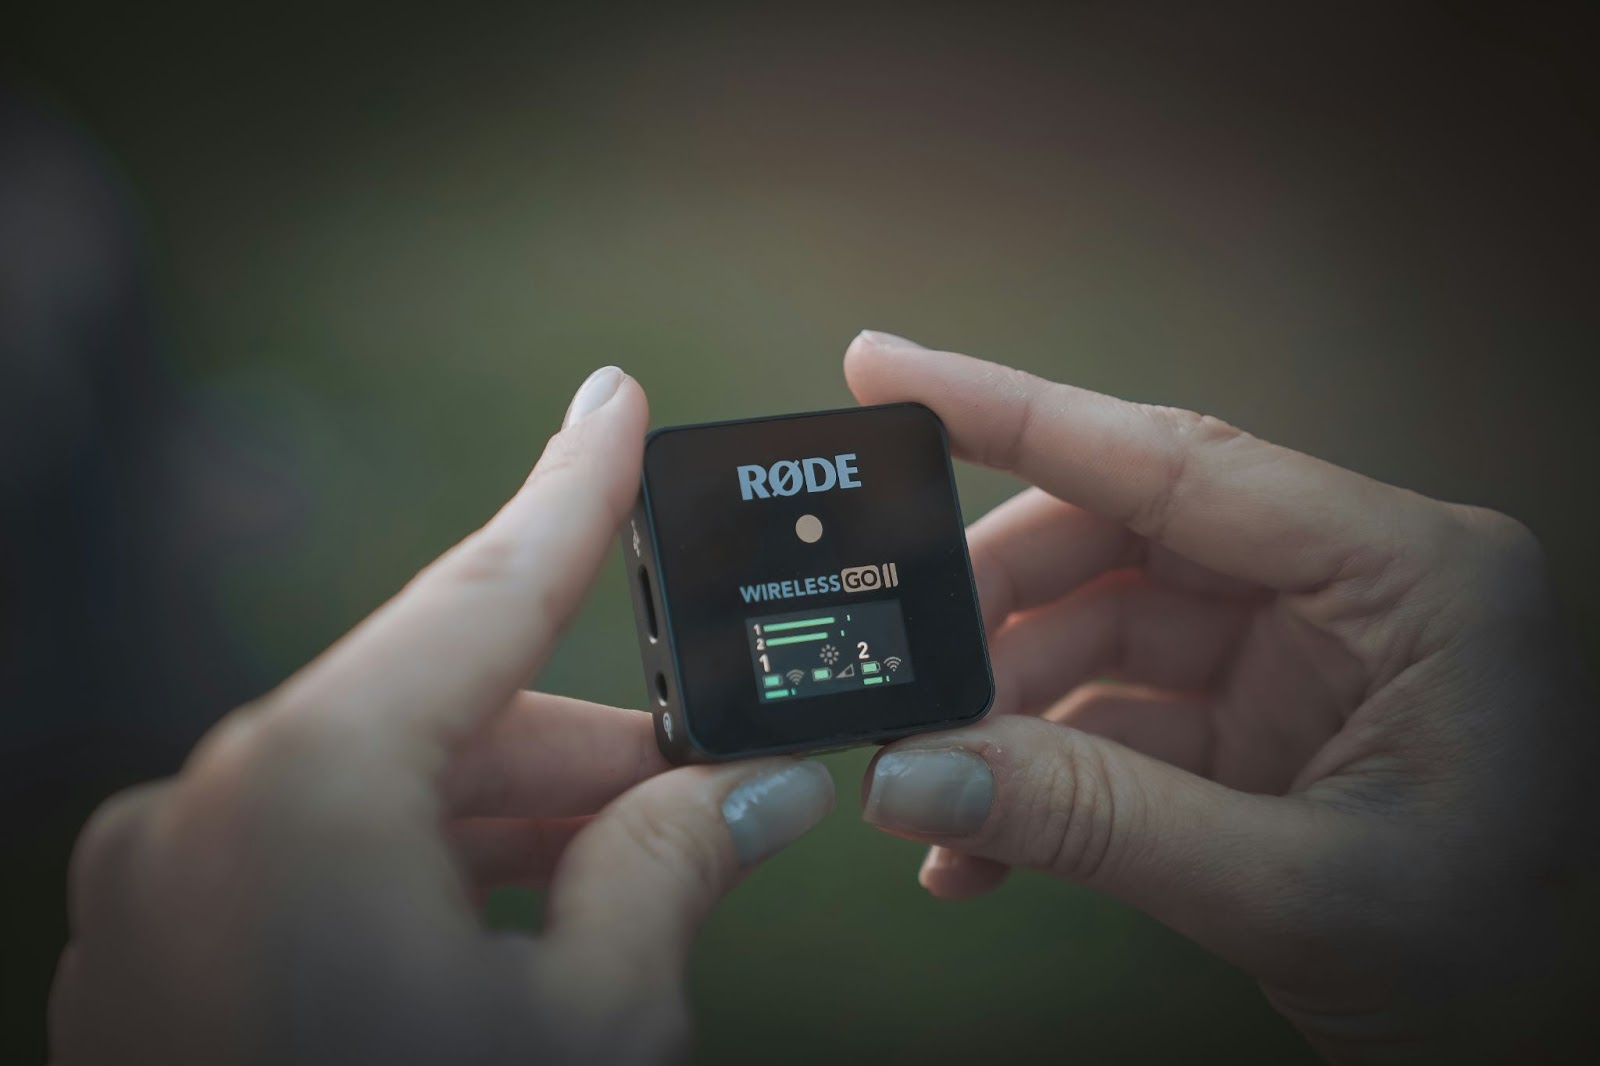
- Invest in a Good Microphone: While smartphone mics have improved, an external mic can significantly enhance your audio quality.
- Use a Stabilizer: To avoid shaky footage, consider using a smartphone gimbal or tripod. Companies like DJI have many options available.
- Keep Your Phone Charged: Streaming can drain your battery quickly. Have a power bank or charging cable handy.
As you grow more comfortable with streaming and potentially look to expand your capabilities, you might consider moving to more advanced setups. In the next section, we'll explore how you can take your streaming to the next level using a laptop and popular streaming software like OBS Studio.
Streaming with a Laptop and OBS Studio: Stepping Up Your Game
As you become more comfortable with streaming and look to enhance your production quality, the next logical step is to move from smartphone streaming to using a laptop with dedicated streaming software. This setup offers more control, better quality, and increased functionality. One of the most popular tools for this purpose is OBS (Open Broadcaster Software) Studio. Let's dive into how you can set this up and what benefits it offers.
Why Choose a Laptop with OBS Studio?

1. More Processing Power: Laptops offer more computational resources, allowing for higher quality streams.
2. Greater Control: OBS Studio provides extensive customization options for your stream.
3. Multiple Sources: You can incorporate various audio and video sources into your stream.
4. Overlays and Graphics: Add professional-looking graphics, lower thirds, and transitions to your stream.
5. Screen Sharing: Easily share your screen or specific applications during your stream.
Setting Up Your Laptop for Streaming
1. Choose Your Laptop: Ensure your laptop meets the minimum requirements for streaming. Look for:
- A multi-core processor (Intel i5 or better, or AMD equivalent)
- At least 8GB of RAM (16GB recommended)
- A dedicated graphics card (for gaming streams)
- Sufficient storage space (SSD preferred for faster performance)
2. Install OBS Studio:
- Download OBS Studio from the official website (https://obsproject.com/)
- Follow the installation wizard to set it up on your laptop
- Set up your scenes (different layouts for your stream)
- Add sources (webcam, game capture, screen capture, etc.)
- Configure your audio settings
- Set your output settings (resolution, bitrate, etc.)
4. Choose Your Streaming Platform:
- While OBS Studio supports various platforms, consider using EventLive for its user-friendly interface and robust features.
- Set up your stream key and server URL in OBS Studio
5. Test Your Setup:
- Do a test stream to ensure everything is working correctly
- Check your video and audio quality
- Ensure your internet connection can handle the stream
Tips for Successful Laptop Streaming with OBS Studio
- Create Multiple Scenes: Set up different scenes for various parts of your stream (e.g., "Starting Soon", "Main Content", "Be Right Back").
- Hotkeys: Set up hotkeys for quick scene switching and source toggling.
- Optimize Your Settings: Adjust your output settings based on your internet speed and computer capabilities.
- Regular Updates: Keep OBS Studio and your laptop's drivers up to date for best performance.
Transitioning from smartphone to laptop streaming with OBS Studio opens up a world of possibilities. It allows for more professional-looking streams, greater control over your content, and the ability to create more engaging experiences for your viewers. As you grow more comfortable with this setup, you might consider adding external cameras to further enhance your streaming capabilities, which we'll explore in the next section.
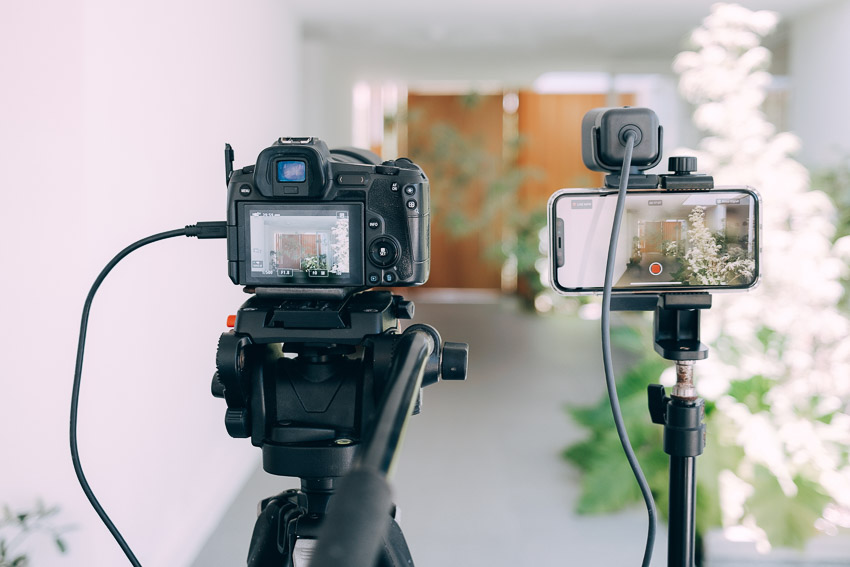
Streaming with One Camera: Enhancing Your Visual Quality
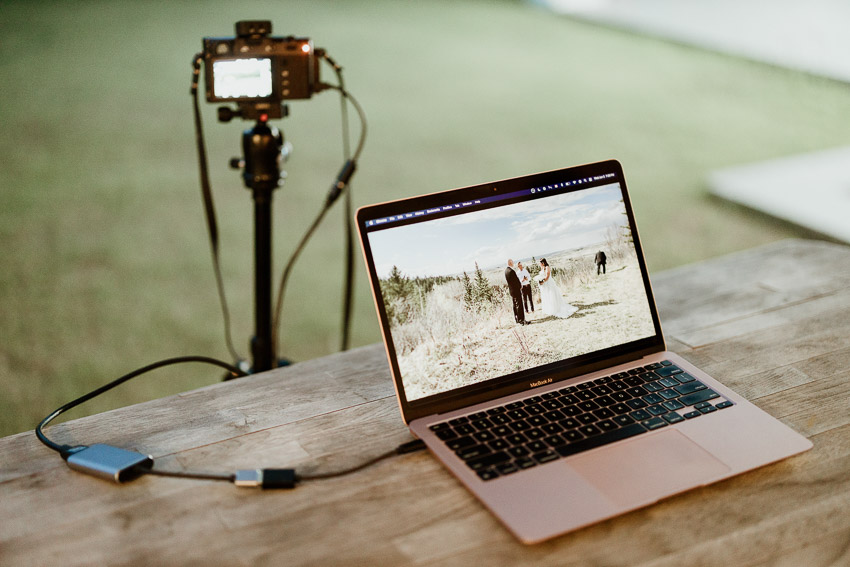
As you continue to evolve your streaming setup, incorporating an external camera can significantly boost your visual quality. This setup bridges the gap between basic laptop streaming and more complex multi-camera configurations. Let's explore how to set up and optimize a single-camera streaming system.
Why Add an External Camera?
1. Improved Video Quality: External cameras often offer better resolution and frame rates than built-in webcams.
2. Better Optics: Dedicated cameras have superior lenses and sensors, resulting in clearer, more professional-looking video.
3. Adjustable Field of View: Many external cameras allow you to change lenses or adjust zoom, giving you more control over your shot composition.
4. Low-Light Performance: External cameras typically perform better in challenging lighting conditions.
Setting Up Your Single-Camera Stream
1. Connect Your Camera:
- For USB cameras (like webcams), simply plug them into your computer.
- For DSLR or mirrorless cameras, you'll need a capture card to connect them to your computer.
2. Configure in OBS Studio:
- Add a new Video Capture Device source in OBS.
- Select your camera from the device list.
- Adjust settings like resolution, frame rate, and color space.
3. Optimize Your Shot:
- Position your camera at eye level for the most flattering angle.
- Ensure proper lighting - consider investing in a ring light or softbox.
- Pay attention to your background - keep it clean and professional.
4. Audio Considerations:
- Decide whether to use the camera's built-in microphone or a separate audio source.
- If using a separate mic, ensure it's properly synced with your video.
Tips for Single-Camera Streaming
- Invest in a Good Tripod: This ensures your camera remains stable throughout your stream.
- Use Manual Focus: If your camera supports it, manual focus can prevent the annoying 'focus hunting' that can occur in auto mode.
- Experiment with Depth of Field: If using a DSLR or mirrorless camera, play with aperture settings to create a pleasing background blur.
As you become more comfortable with single-camera streaming, you might start thinking about adding multiple cameras to your setup. This can add dynamism to your streams and allow for more complex productions. In the next section, we'll explore how to set up and manage a multi-camera streaming environment.
Streaming with Multiple Cameras: Creating Dynamic Content
For those looking to take their streaming to the next level, incorporating multiple cameras into your setup can dramatically enhance the quality and engagement of your content. This advanced configuration allows for different angles, smooth transitions, and a more professional, TV-like feel to your streams. Let's dive into how you can set up and manage a multi-camera streaming environment.
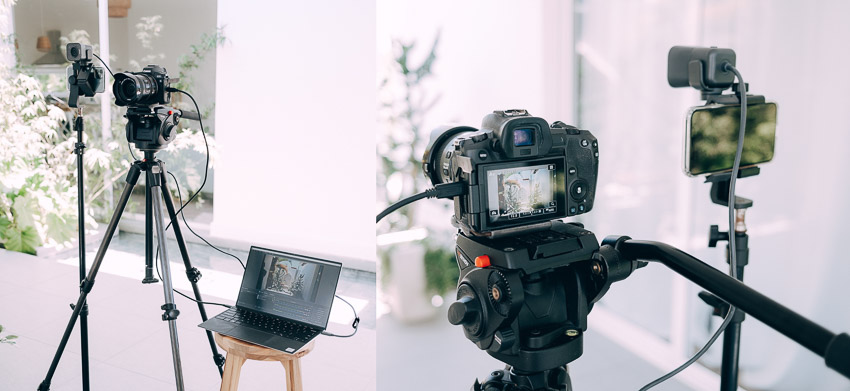
Setting Up a Multi-Camera Stream
1. Choose Your Cameras:
- You can mix and match different types of cameras (webcams, DSLRs, camcorders, etc.)
- Ensure all cameras can output a signal your computer can receive (via USB, HDMI, etc.)
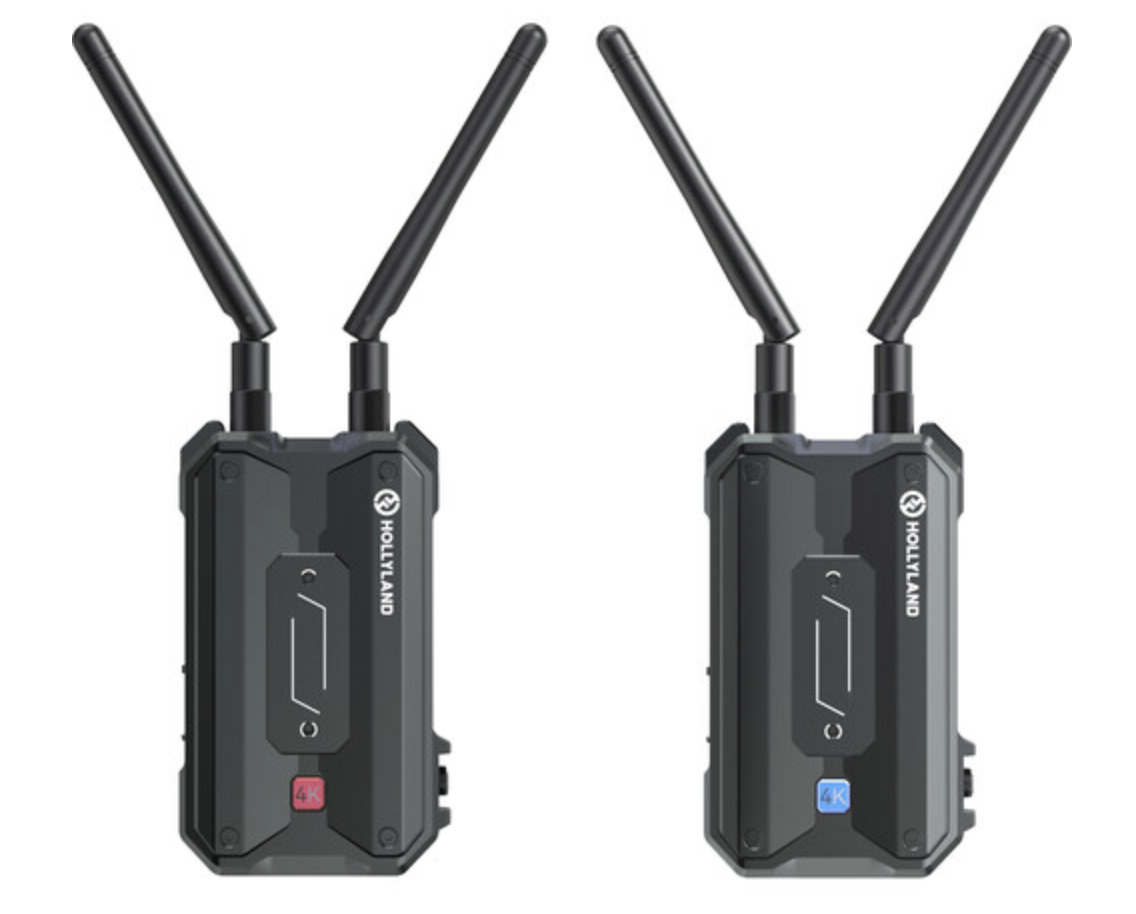
2. Acquire Necessary Hardware:
- Capture cards for non-USB cameras
- USB hubs if you're short on ports
- HDMI splitters if needed
- Wireless transmission system
3. Set Up in OBS Studio:
- Add each camera as a separate Video Capture Device source
- Create scenes for different camera configurations
- Set up transitions between scenes
4. Configure Audio:
- Decide on your audio source(s) - this could be from one of the cameras or a separate microphone
- Ensure audio is properly synced across all cameras
5. Optimize Your Layout:
- Plan your camera positions to cover all necessary angles
- Consider using a multi-view layout to show multiple cameras simultaneously
Managing a Multi-Camera Stream
1. Scene Switching:
- Use OBS Studio's scene transitions to switch between cameras smoothly
- Consider setting up hotkeys for quick switching
- Consider using a streaming encoder for a more professional setup up
2. Monitoring:
- Use a multi-monitor setup if possible - one for your main content, one for OBS control, and one for preview/chat
3. Practice Transitions:
- Rehearse your camera switches to ensure smooth transitions during live streams
4. Consistent Quality:
- Try to match settings (like white balance and exposure) across all cameras for a cohesive look
Choosing the Right Streaming Setup for You
As we've explored in this comprehensive guide, there's a wide range of options available when it comes to setting up your stream. From the simplicity of smartphone streaming to the complexity and dynamism of multi-camera setups, each approach has its own advantages and challenges.
1. Smartphone Streaming:
- Pros: Convenient, cost-effective, great for beginners
- Cons: Limited control, potential quality issues
2. Laptop with OBS Studio:
- Pros: More control, better quality, ability to add graphics and overlays
- Cons: Steeper learning curve, requires decent hardware
3. Single Camera Setup:
- Pros: Improved video quality, more professional look
- Cons: Additional cost, more complex setup
4. Multi-Camera Setup:
- Pros: Dynamic content, professional broadcast feel
- Cons: Most complex and expensive option, requires significant management during streams
When deciding which setup is right for you, consider the following factors:
- Your budget
- The type of content you're creating
- Your technical expertise
- Your audience's expectations
- The time you can dedicate to setup and management
Remember, you don't have to start with the most advanced setup. Many successful streamers began with simple smartphone or laptop setups and gradually upgraded their equipment as their needs and audience grew. The most important thing is to start creating content and connecting with your audience.
Key Takeaways
- Streaming setups range from simple smartphone configurations to complex multi-camera systems.
- Choose a setup that aligns with your content type, budget, and technical expertise.
- OBS Studio is a powerful tool for managing more complex streaming setups.
- Invest in good audio to enhance your stream quality.
- Practice and familiarity with your chosen setup are key to smooth, professional streams.
- EventLive is a versatile platform that can accommodate streams of all complexities.
- Start with a simple setup and upgrade as your needs grow.
FAQ
Q: Do I need expensive equipment to start streaming?
A: Not at all! You can start streaming with just a smartphone. As you grow more comfortable and want to enhance your stream quality, you can gradually invest in better equipment.
Q: What's the minimum internet speed required for streaming?
A: For basic streaming, you'll want at least 3-5 Mbps upload speed. For HD streaming, aim for 5-10 Mbps or higher.
Q: Can I use my DSLR camera for streaming?
A: Yes, many DSLR cameras can be used for streaming. You'll typically need a capture card to connect it to your computer.
Q: What should I do if my stream quality is poor?
A: Check your internet connection, lower your stream resolution or bitrate, close unnecessary programs on your computer, and ensure your hardware can handle the streaming load.
Ready to start your streaming journey? Whether you're a beginner with just a smartphone or an experienced creator with a multi-camera setup, EventLive is the perfect platform to bring your content to life. With its user-friendly interface, robust features, and ability to handle streams of all complexities, EventLive empowers you to focus on what matters most – creating great content.
