
.jpg)
Live streaming has emerged as a powerful way to share experiences, celebrate milestones, and build communities—no matter where your audience is. Whether you’re hosting a family gathering, a wedding, or a memorial service, the ability to broadcast these moments live bridges distances and creates lasting memories. But if you’re new to streaming, the technical details can feel overwhelming. Don’t worry: this guide breaks down everything you need to start streaming confidently, even if you’ve never touched a camera before.
What You Need to Start Live Streaming
At its core, live streaming requires just three components: a way to capture video, a platform to broadcast it, and a reliable internet connection. Let’s explore each of these in detail.
1. Choosing Your Camera: Smartphone or Dedicated Setup?
Your first decision is whether to use a smartphone or a camera-computer setup. Both options have pros and cons, and the right choice depends on your goals.
Smartphone Streaming
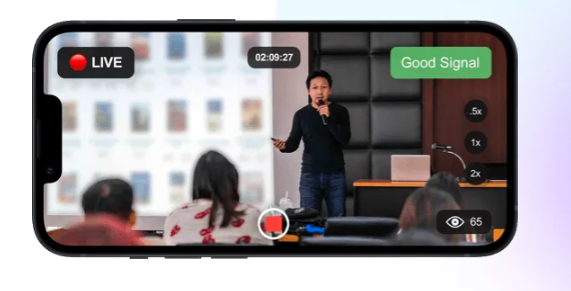
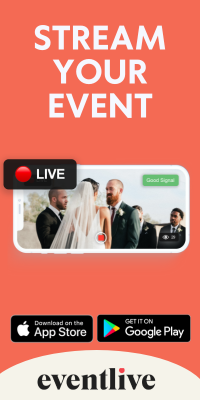
Most modern smartphones have high-quality cameras capable of streaming in 1080p or even 4K. For casual or personal events—like a birthday party or a small family reunion—a smartphone is often sufficient. Apps like EventLive (more on this later) simplify the process, letting you go live in seconds without technical fuss.
Camera-and-Computer Setup
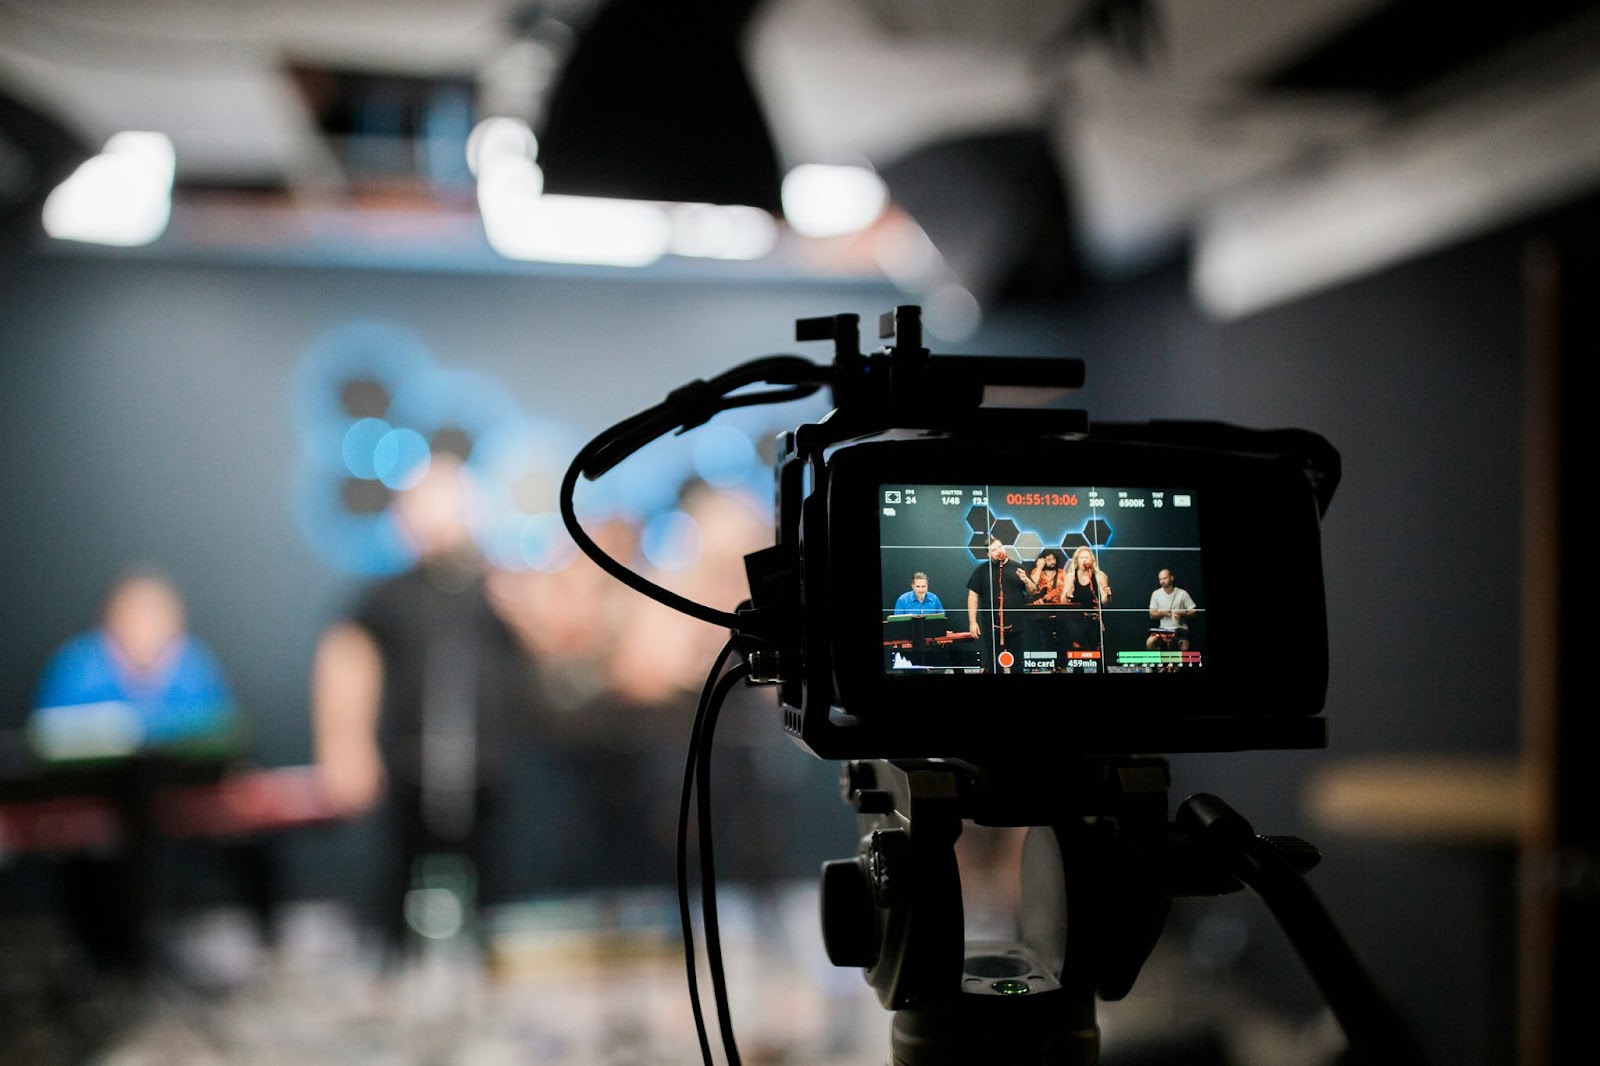
For larger or more professional events, such as conferences or performances, a dedicated camera paired with streaming software (like OBS Studio or vMix) offers greater control over video quality and editing. Cameras like the Sony ZVE10 provide sharper visuals and better low-light performance than most smartphones. However, this setup requires more gear, including an HDMI capture card to connect the camera to your computer.
2. Selecting Your Streaming Platform
Where you stream matters as much as how you stream. Different platforms cater to different audiences:
- EventLive: Designed for private, meaningful moments, EventLive prioritizes simplicity and security. It’s ideal for weddings, memorials, or family gatherings where you want to limit access to invited guests.
- Social Media Platforms: Facebook Live, Instagram Live, and YouTube Live are free and reach broad audiences, but they lack privacy controls and may flag copyrighted content (like background music).
- Niche Platforms: Twitch suits gamers, while platforms like Dacast cater to professionals needing advanced analytics.
Why EventLive Stands Out
Unlike social media platforms, EventLive ensures your stream remains private and secure. It supports unlimited viewers, eliminates copyright concerns for personal events, and requires no technical expertise—perfect for beginners who value closeness over complexity.
3. Internet Connection: The Make-or-Break Factor
A stable internet connection is non-negotiable. Poor connectivity leads to buffering, dropped streams, and frustrated viewers. Here’s how to optimize yours:
- Upload Speed: Aim for at least 5 Mbps for 720p streams and 10 Mbps for 1080p. Use tools like Speedtest.net to check your upload speed.
- Wired Over Wireless: Ethernet connections are more reliable than Wi-Fi. If wiring isn’t possible, position your router close to your streaming device.
- Mobile Data Solutions: For outdoor events, a dedicated SIM card with a strong data plan (e.g., 5G) provides more stability than smartphone hotspots.
Accessories to Elevate Your Stream
While you can stream with just a camera and internet, these accessories enhance quality and professionalism:
Microphones
Built-in mics often pick up background noise. A USB microphone like the Blue Yeti delivers clearer audio, while lavalier mics are perfect for hands-free speaking.
Tripods and Stabilizers
Shaky footage distracts viewers. A sturdy tripod keeps your smartphone or camera steady, while gimbals smooth out motion for mobile streams.
Lighting
Natural light is unpredictable. Ring lights or softbox kits ensure consistent illumination, reducing shadows and creating a polished look.
Capture Cards
Essential for camera-computer setups, devices like the Elgato Cam Link 4K convert HDMI signals into USB inputs for your streaming software.
Software Showdown: OBS Studio vs. vMix
If you’re using a camera and computer, you’ll need encoding software. Here’s how the two most popular options compare:
OBS Studio
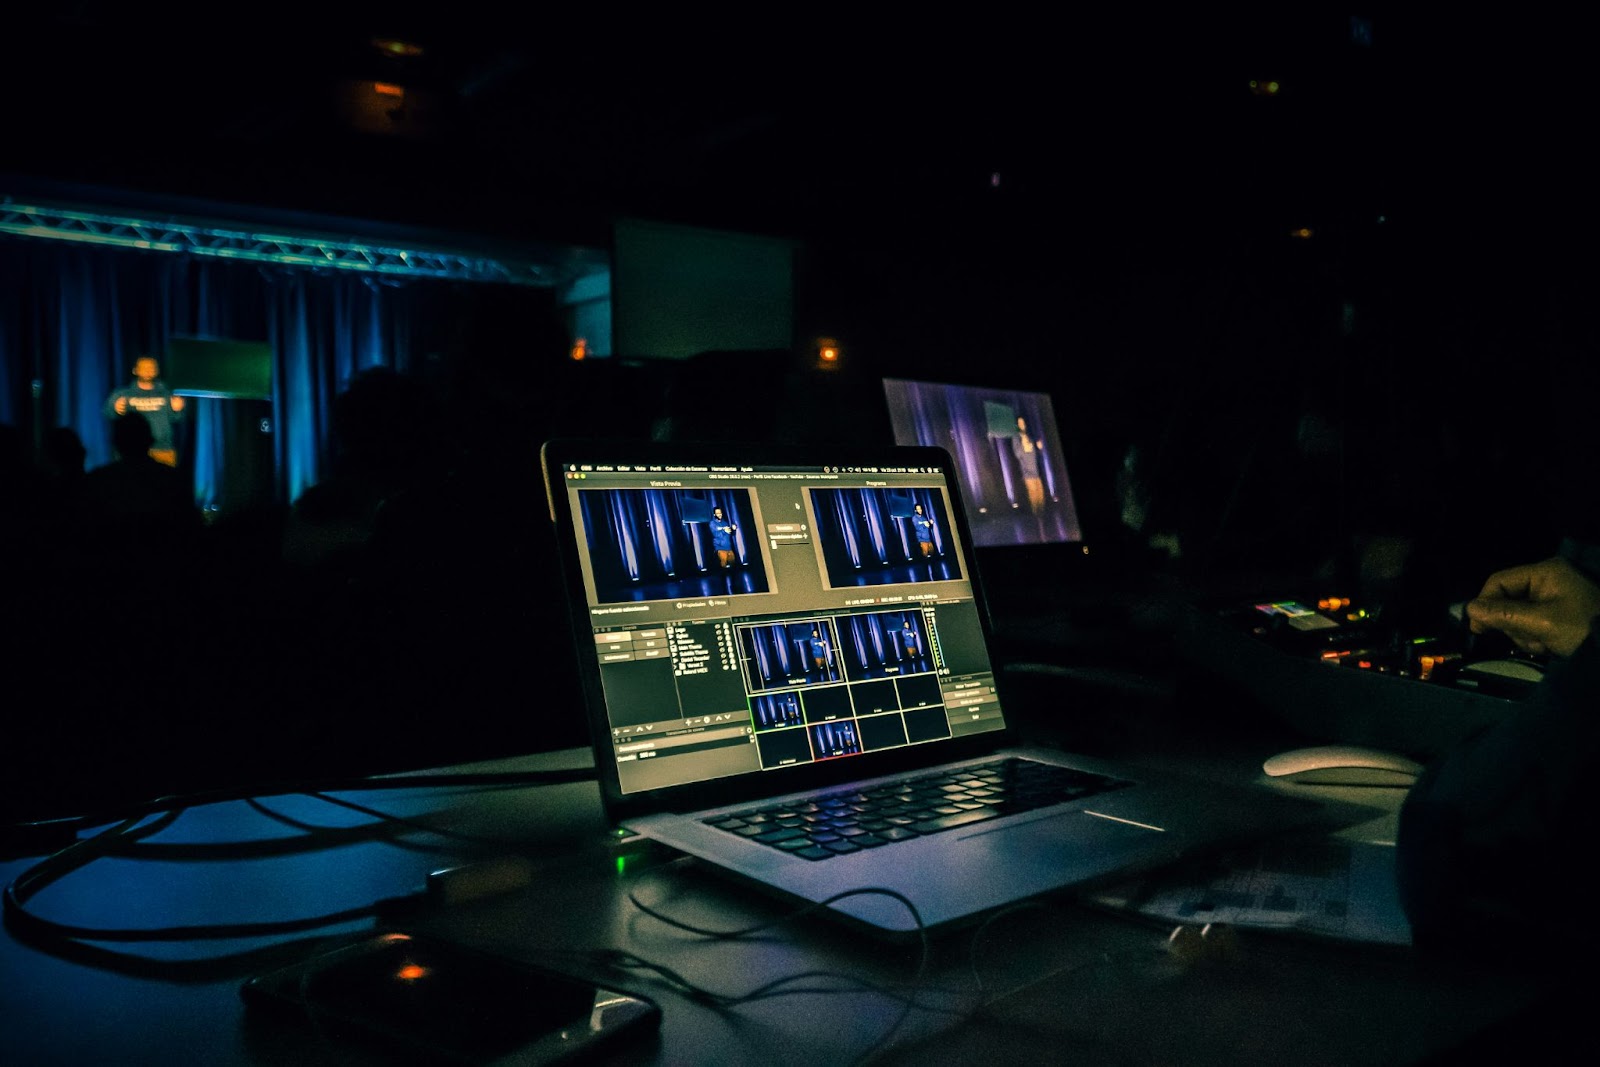
- Pros: Free, open-source, and highly customizable. Supports plugins for advanced features like live captions.
- Cons: Steeper learning curve. Limited to one stream at a time.
vMix
- Pros: Multi-camera support, built-in audio mixing, and simulcasting to three platforms simultaneously.
- Cons: Costs between $50 and $1,200 depending on features.
For beginners, OBS Studio is a strong starting point. But if you’re hosting complex events, vMix’s intuitive interface justifies the investment.
Step-by-Step Streaming Guide
Using a Smartphone with EventLive
- Download EventLive from your app store.
- Create an account and schedule your event (optional).
- Use free TEST LIVE option to test the app.
- Tap “Go Live,” adjust framing and lighting, and invite viewers via email or link.
Using a Camera and OBS Studio
- Connect your camera to your computer via HDMI and a capture card.
- Install OBS Studio and add your camera as a “Video Capture Device.”
- Set up your streaming destination (e.g., EventLive’s RTMP server).
- Configure audio inputs and test levels.
- Click “Start Streaming” and monitor chat through OBS or EventLive’s dashboard.
Pro Tips for Beginner Streamers
- Test Everything: Do a trial run to check audio, video, and internet stability.
- Engage Your Audience: Greet viewers by name, answer questions live, and encourage reactions.
- Promote Early: Share your stream link via email, social media, or SMS reminders.
- Mind Backgrounds: A tidy, well-decorated space keeps the focus on you.
- Record a Backup: Save your stream locally in case of internet issues.
Key Takeaways
- Start Simple: A smartphone and EventLive are all you need for personal events.
- Prioritize Audio: Viewers forgive pixelated video but not poor sound.
- Choose Privacy-First Platforms: EventLive protects your moments from unwanted viewers.
- Invest in Internet Stability: A wired connection or 5G SIM card prevents disasters.
- Practice Makes Perfect: Test your setup and rehearse your content.
Frequently Asked Questions
Do I need expensive gear to start streaming?
No. Many creators begin with a smartphone and free software. Upgrade gradually as your needs evolve.
Can I stream without appearing on camera?
Yes! Share your screen, use slideshows, or stream audio-only content.
What if my internet drops mid-stream?
EventLive automatically saves a backup recording, so you can resume where you left off. If you are using OBS Studio, make sure to turn on the Recording option when starting the live stream.
How do I grow my audience?
Promote streams in advance, collaborate with others, and engage viewers with polls or Q&A sessions.
Why let distance dim life’s brightest moments? With EventLive, you can share weddings, birthdays, or even final goodbyes effortlessly—no technical skills required. Our platform ensures privacy, simplicity, and crystal-clear quality, so you focus on what matters: connecting with those you love.
.png)
